


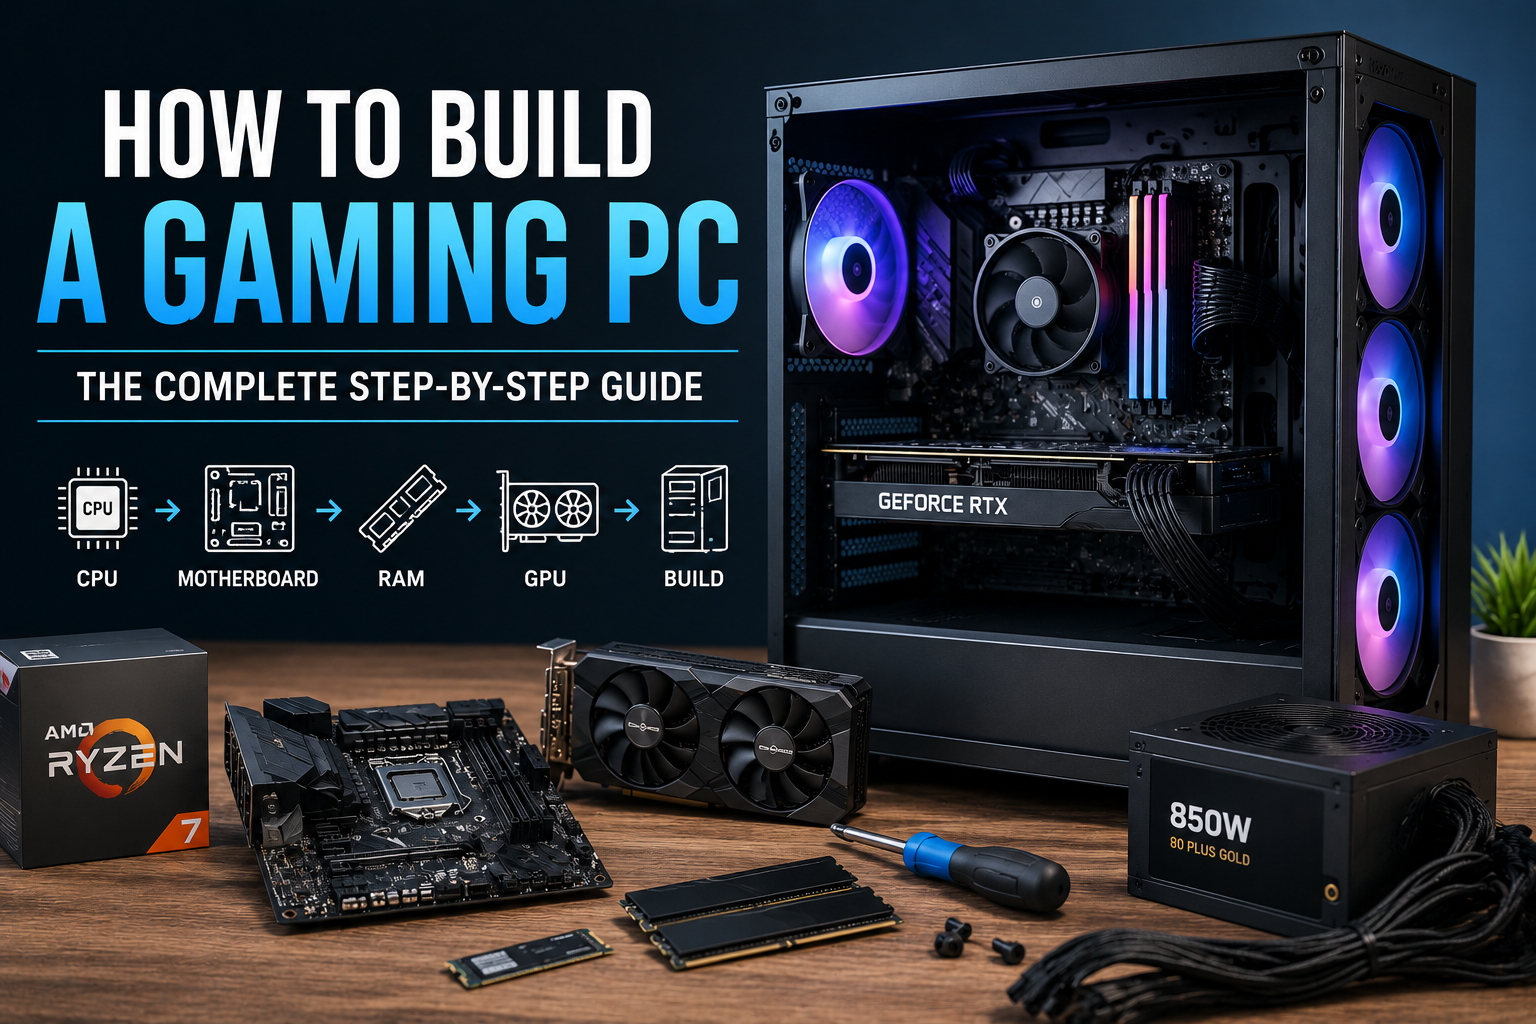
Quick answer: Building a gaming PC involves installing the CPU and RAM onto the motherboard, mounting the motherboard in the case, adding storage and the power supply, installing the GPU, connecting all cables, then booting up and installing your operating system. Most first-time builds take 2-4 hours and require no special tools beyond a Phillips screwdriver.
Building your own gaming PC sounds intimidating, but it’s mostly just assembling pre-made pieces in the right order — no soldering, no deep technical knowledge required. Whether you’re building a fully custom PC from scratch or just want a reliable desktop PC that outperforms anything prebuilt at the same price, here’s everything you need, from picking parts to powering on your finished build for the first time.
Is It Actually Hard to Build a PC?
No — and this is worth addressing up front, since it’s one of the biggest things stopping people from trying. Modern components are designed to only fit together the correct way, with clear connectors and labeled ports. If you can follow instructions and use a screwdriver, you can build a PC. Budget roughly 2-4 hours for your first build, and don’t rush — most mistakes come from forcing a connection that isn’t actually lined up correctly, not from a lack of skill.
Step 1: Plan Your Parts List
Before buying anything, map out your full build so every component is compatible with the others. PCPartPicker is the standard tool for this — it automatically flags compatibility issues (like a CPU that doesn’t fit your motherboard’s socket) before you spend a dollar.
You’ll need:
- CPU (processor) — handles general computing tasks and game logic
- Motherboard — connects every other component; must match your CPU’s socket type
- GPU (graphics card) — renders the visuals; the most impactful part for gaming performance
- RAM (memory) — 16GB is a reasonable minimum for gaming in 2026, 32GB if you also stream or multitask heavily
- Storage — an NVMe SSD for your OS and main games; a secondary drive if you need more space
- Power supply (PSU) — must supply enough wattage for your GPU and CPU combined, with headroom
- Case — houses everything; check it physically fits your motherboard size and GPU length
- CPU cooler — some CPUs include a stock cooler; higher-end chips often need one purchased separately
Step 2: Order Your Components
Once your list passes compatibility checks, order everything at once if possible — building with all parts on hand avoids the frustration of getting halfway through and waiting on a delayed shipment.
Step 3: Prepare Your Workspace
- Work on a hard, flat, non-carpeted surface (carpet generates static electricity)
- Touch a grounded metal object before handling components to discharge static, or wear an anti-static wrist strap
- Keep the motherboard box nearby — many boards include labeled reference sheets for exactly which cable goes where
Step 4: Install the CPU
- Open the CPU socket lever on the motherboard
- Align the small gold triangle (or notches) on the CPU with the matching mark on the socket
- Gently lower it in — it should drop into place with almost no pressure. If it doesn’t, stop and recheck alignment; never force it
- Close the socket lever to lock it in
Step 5: Install RAM
- Open the clips on the RAM slots (check your motherboard manual for which slots to use first if you’re not filling all of them)
- Align the notch on the RAM stick with the slot
- Press down firmly at both ends until the clips click into place
Step 6: Install the CPU Cooler
Follow your specific cooler’s instructions closely, since mounting hardware varies by brand. If using a cooler that didn’t come with pre-applied thermal paste, apply a small pea-sized dot in the center of the CPU before mounting.
Step 7: Install the Motherboard Into the Case
- Install the I/O shield (the metal plate with cutouts for ports) into the back of the case first, if it’s not pre-attached
- Line up the motherboard’s screw holes with the case’s standoffs
- Screw the motherboard in securely but don’t overtighten
Step 8: Install Storage
- M.2 NVMe drives mount directly onto the motherboard, usually under a small heatsink cover
- 2.5″/3.5″ drives mount into dedicated bays in the case and connect via SATA cable to the motherboard, plus a power cable from the PSU
Step 9: Install the Power Supply
Mount the PSU in its bay (usually bottom-rear of the case) and route cables through the case’s cable management holes before connecting anything, so cables end up on the correct side.
Step 10: Install the GPU
- Remove the matching expansion slot covers on the back of the case
- Insert the GPU firmly into the top PCIe slot until it clicks
- Screw it into the case bracket
- Connect the PCIe power cables from your PSU directly to the GPU (don’t use daisy-chained connectors meant for other components)
Step 11: Connect Everything Else
- Front panel connectors (power button, USB ports, headphone jack) — refer to your motherboard manual for exact pin placement, this is the fiddliest part of the whole build
- Case fans — connect to motherboard fan headers or a fan controller
- Main 24-pin and 8-pin CPU power cables from the PSU to the motherboard
Step 12: First Boot
- Connect a monitor, keyboard, and mouse
- Power on and check for a display — if nothing shows, don’t panic; double-check the GPU is seated fully and all power cables are connected
- Enter the BIOS to confirm your CPU, RAM, and storage are all detected correctly
- Install your operating system and you’re ready to go
Where to Buy Parts
Online retailers (Amazon, Newegg) generally offer the widest selection, while in-person stores like Best Buy or Micro Center let you inspect parts and get same-day builds without shipping delays — Micro Center in particular has become a go-to for PC builders where locations exist, often with better bundle pricing than buying parts separately online.
Quick Reference: Build Order
| Order | Step |
|---|---|
| 1 | CPU into motherboard |
| 2 | RAM into motherboard |
| 3 | CPU cooler on top |
| 4 | Motherboard into case |
| 5 | Storage installed |
| 6 | PSU mounted and cabled |
| 7 | GPU installed |
| 8 | Front panel + fans connected |
| 9 | Power on and enter BIOS |
Frequently Asked Questions
Is it hard to build a gaming PC? No. Modern components are designed to fit together only one correct way, with clear labeled connectors. If you can follow instructions and use a screwdriver, you can build a PC — most first builds take 2-4 hours.
What do I need to build a gaming PC? A CPU, motherboard, GPU, RAM, storage (SSD), power supply, case, and CPU cooler. You’ll also need a Phillips screwdriver and roughly 2-4 hours.
Can I build my own PC without prior experience? Yes. No soldering or specialized technical skill is required — just careful attention to compatibility (using a tool like PCPartPicker) and following the correct assembly order.
Is a custom-built PC better than a desktop PC bought prebuilt? A custom-built PC typically offers better performance per dollar, since you’re not paying for assembly labor or retail markup, and you can choose exactly the parts you want rather than accepting a fixed configuration.
Wondering what this is actually going to cost you? Check our complete breakdown of gaming PC build costs by budget tier before you start buying parts.
