


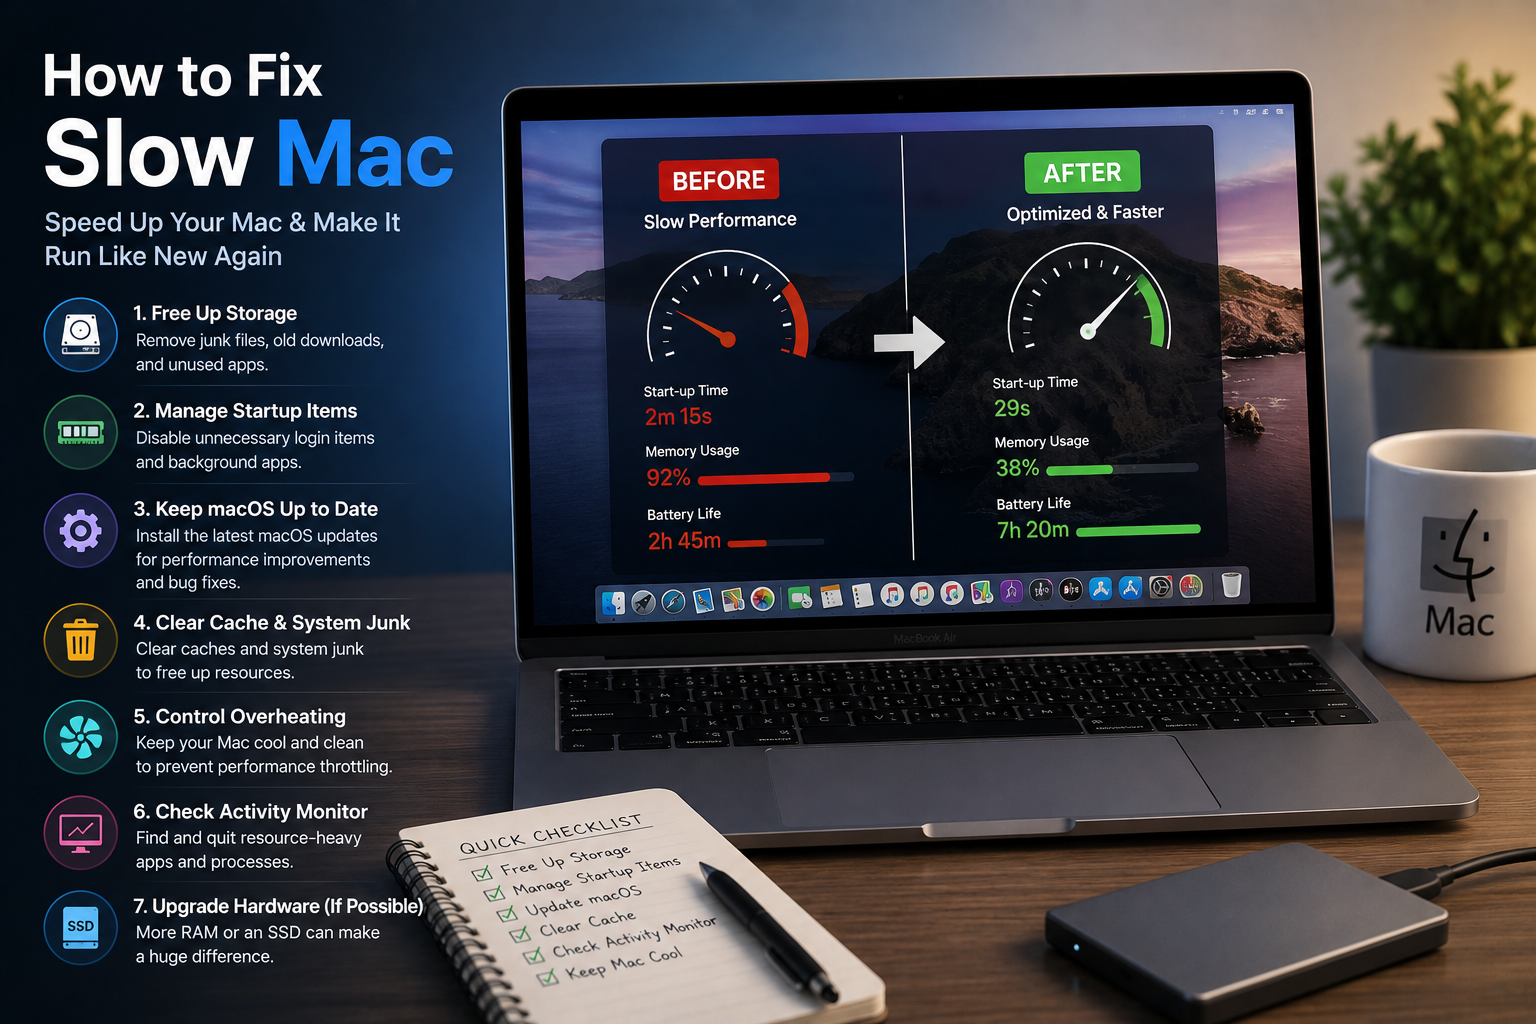
Macs don’t get bogged down by the same startup-program bloat and registry issues that slow down Windows PCs, but they have their own set of common culprits — low storage, background syncing, Spotlight re-indexing, and aging hardware among them. Here’s how to diagnose and fix a slow Mac, whether you’re on Apple Silicon or an older Intel model.
Step 1: Restart First
It’s the simplest fix and often enough on its own. Restarting clears temporary memory, stops stuck background processes, and gives macOS a clean start — especially useful if your Mac has been running for days without a reboot, or slowed down suddenly after a specific app or update.
Apple menu > Restart
Step 2: Check Activity Monitor for Resource Hogs
Before changing any settings, see what’s actually using your resources.
- Open Applications > Utilities > Activity Monitor
- Click the CPU tab and sort by % CPU to spot runaway processes
- Click the Memory tab and sort by Memory to spot RAM-heavy apps
Important: Don’t quit system processes like WindowServer, kernel_task, or mds_stores even if they show high usage — these are core macOS functions, and kernel_task in particular ramps up on purpose to manage heat, not because something’s wrong. Quit user apps instead, using the “X” button at the top-left of the window.
Step 3: Check If It’s Actually Spotlight Re-Indexing
If your Mac slowed down right after a macOS update or after connecting a new external drive, and mds_stores or mdworker is showing high CPU in Activity Monitor, it’s likely Spotlight rebuilding its search index in the background — not a real problem, just something that temporarily uses resources.
- This usually resolves on its own within a few hours to a day
- You can check progress in Spotlight preferences or by running
mdutil -s /in Terminal to see indexing status
Step 4: Free Up Storage Space
Low storage is one of the most common causes of Mac slowdowns, since macOS relies on free disk space for virtual memory and temporary files.
- Apple menu > About This Mac > Storage > Manage
- Review the Recommendations — options to store files in iCloud, empty Trash automatically, and reduce clutter appear here
- Apple recommends keeping at least 10-20% of your storage free for smooth operation
Step 5: Check for Time Machine Local Snapshots
If your storage looks full but you can’t find large files to explain it, local Time Machine snapshots (kept for backup purposes even without an external drive connected) can silently consume significant space — this is often labeled “purgeable” space and usually clears automatically when space is needed, but can occasionally get stuck.
Step 6: Review Login Items and Background Apps
Apps that launch automatically at startup, or that continue running in the background even after you close their window, add up over time.
- System Settings > General > Login Items & Extensions
- Remove anything you don’t need starting automatically
- Check the Allow in the Background section further down — some apps keep running silently even when “closed”
Step 7: Manage iCloud and Cloud Sync Apps
iCloud Photos, iCloud Drive, and third-party sync tools (Dropbox, Google Drive, OneDrive) can spike CPU and disk usage while syncing large libraries or folders, especially right after adding a lot of new files.
- Check sync status in the Photos app or Finder sidebar for iCloud Drive
- If you have a large photo library, initial sync after signing into a new Mac can take a long time and noticeably affect performance until it completes
Step 8: Update macOS and Your Apps
Outdated software can cause real performance issues, not just miss out on new features.
- System Settings > General > Software Update
- Install any available updates
- Also check the App Store’s Updates tab for outdated third-party apps
Step 9: Clean Up Your Browser
Your browser is often the actual bottleneck rather than macOS itself.
- Remove extensions you don’t actively use
- Clear cache and browsing data
- If you keep dozens of tabs open habitually, consider a tab-management extension or just closing what you’re not using
Step 10: Reset SMC and NVRAM (Intel Macs Only)
If you’re on an Intel-based Mac and experiencing unusual slowness, fan behavior, or performance that doesn’t match Activity Monitor readings, resetting the System Management Controller (SMC) and NVRAM can resolve underlying hardware-level glitches.
- NVRAM reset: Shut down, then turn on and immediately hold
Option + Command + P + Rfor about 20 seconds - SMC reset: Varies by Mac model — check Apple’s official SMC reset instructions for your specific model
Note: Apple Silicon Macs (M1/M2/M3/M4) don’t have a separate SMC to reset — this step only applies to older Intel models.
When It Might Be Hardware
If you’ve worked through the above and your Mac is still consistently slow:
- Still on a spinning hard drive (older iMacs/MacBooks)? Upgrading to an SSD makes a dramatic difference, though not all newer models allow this
- 8GB of RAM or less and you multitask heavily? More RAM (where upgradeable) helps significantly
- 5+ years old and struggling with basic tasks? At some point replacement becomes more cost-effective than continued troubleshooting
Working through Windows machines too? Our complete guide to fixing a slow computer covers the Windows-specific equivalent of these steps.
